Anna Maria Horner has another fab project, perfect for the lazy day on the couch watching a movie with the kids perhaps.
Gather your felt, 6-strand embroidery thread, embroidery needle and scissors
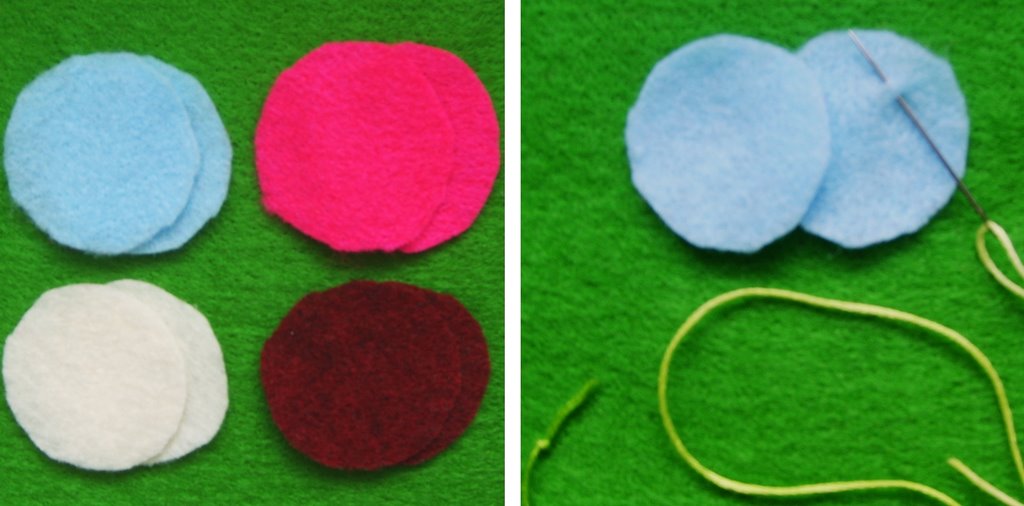
*1* Cut out lots and lots of felt cirlces in pairs. Each circle in the garland should be double layer, either matching or different on each side. For about a 5 or 6 foot garland, I cut out about 60 sets. I traced a spool onto one piece of felt then I just used this as a template to cut the rest.
*2* Do what I call a "pinch stitch" in one of the pieces about one 1/4 inch away from the edge. This is just a little anchoring stich that doesn't quite go all the way through the material, so that it won't show on the other side.

*3* On the other circle, stitch through the felt, also about 1/4 inch away from the edge, as you layer it on top of the first piece.
*4* Before pulling through all the slack in your thread, send your needle through the loop that is left and pull gently to tighten up against the edge of the circle. Your two pieces should now be sandwiched together nicely to begin.
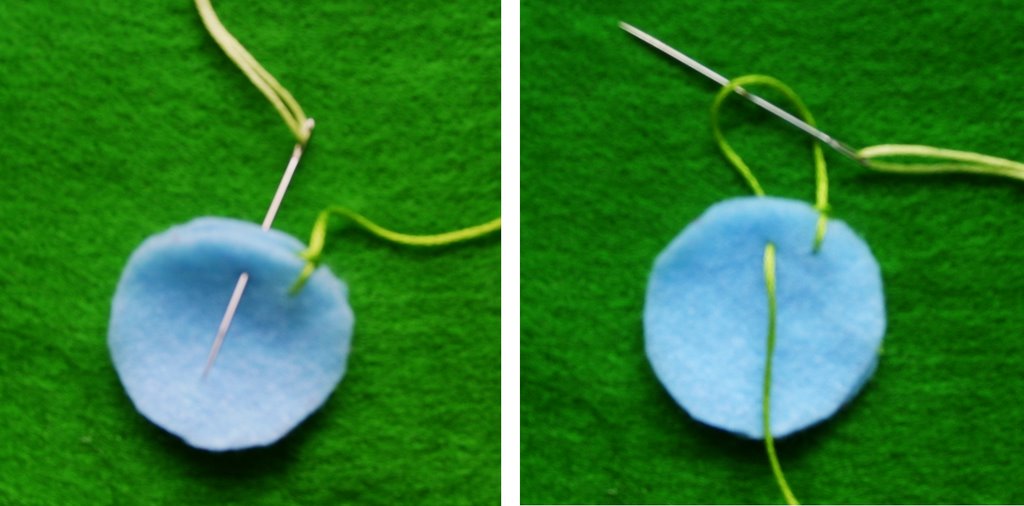
*5* Enter from the back now, about 1/4 inch from the edge and 1/4 from the first stitch.
*6* And once again instead of pulling your slack totally through let your needle first pass through the remaining loop before tightening the stitch.

*7* Continue this blanket stitch (steps 5&6) all the way around the circle, taking care to make your stitches both even from each other and from the edge of the circle.
*8* When you reach the beginning stitch again, pass the needle through the very first anchoring loop that you made.
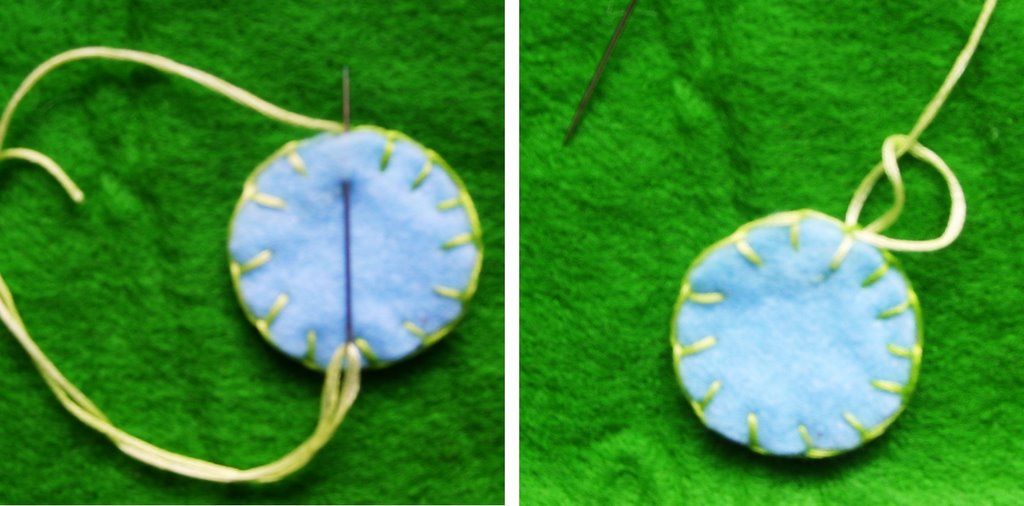
*9* Now turn the circle over on the back and you will see where it is missing one "ray" of a stitch. Make this stitch only by going through the back piece of felt and coming back out the top where your first stitch was made.
*10* Loop through that same first loop again and before pulling all the way through pass the needle through the loop once more and tighten up into a little knot.
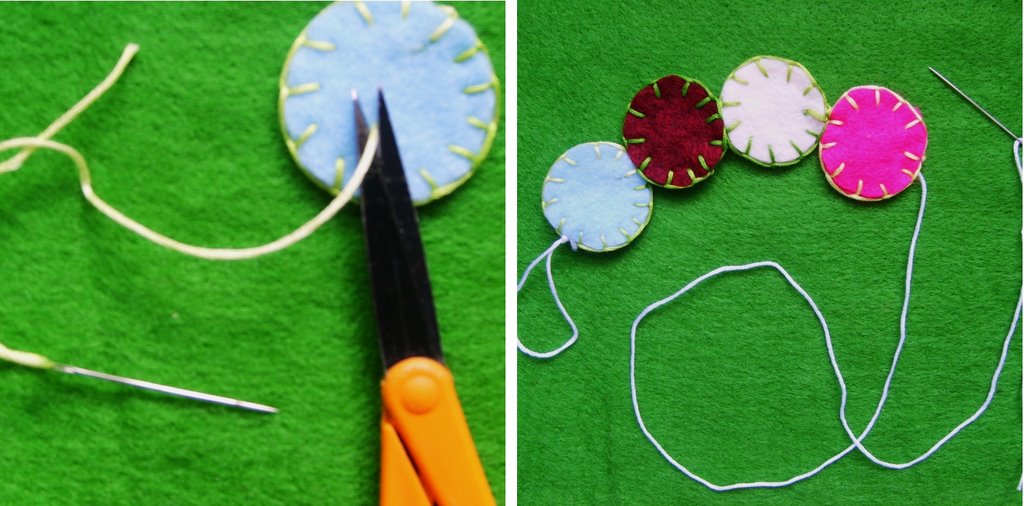
*11* Now to tuck your tail, nestle the needle between the two pieces of felt and come out a little ways away through the back. Trim off your remaining thread as close to the felt as possible.
*12* Stringing the circles now is sort of like stringing popcorn! Thread a long length of embroidery thread and when you tie the knot at the end, tie a long loop into the knot. This loop will be how you help hang the garland. Next make a tiny achoring stitch at one end of the circle then pass the needle through the two pieces of felt and out the other side. Continue through all your circles, carefully nestling the needle through the felt sandwiches so that no stitches are made.
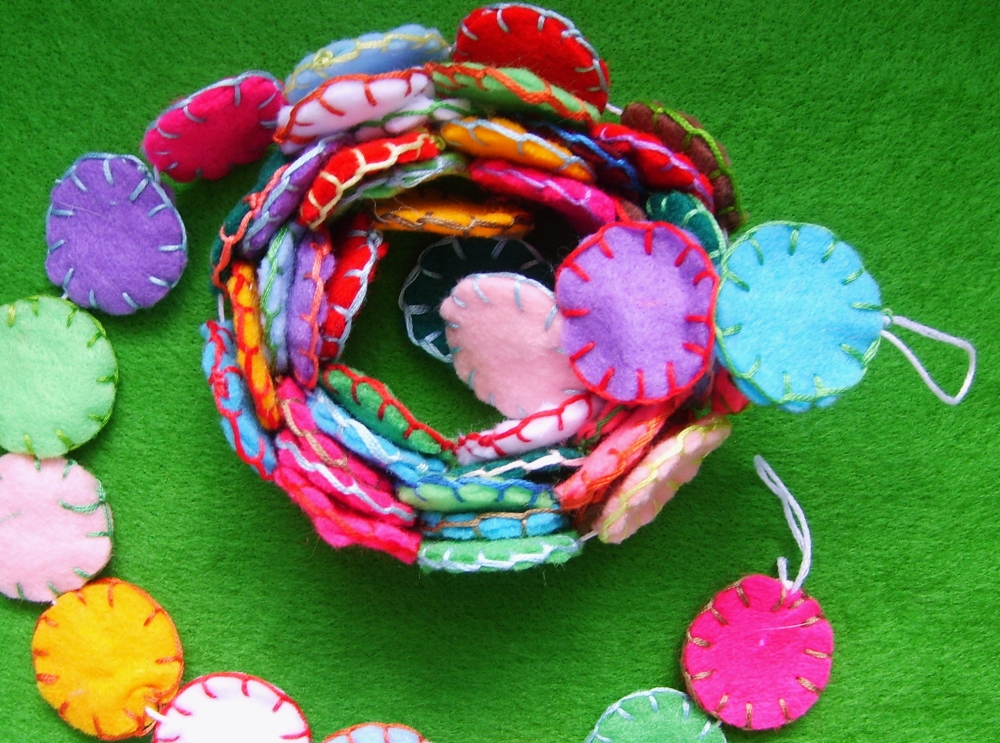
Voila!! Wow that felt good.
I hope you enjoy this as much as we have. There are tons of fun color combinations you could do or just wacky multi-colored like we did. I also chose my embroidery thread at random for the blanket stitches. You could also make the circles a little larger and insert a cotton ball inside after you've stiched around the cirlce about 2/3's of the way. That would make the little circles poofy and ball-like.
No comments:
Post a Comment