

I keep reading bits and pieces here and there about cool things you can do with freezer paper so I decided to do some searching on Craftster to see what the heck everyone is talking about.
So first off, freezer paper has been around for a long time but I don’t think it’s used much any more. It’s this nice heavy paper that’s plain on one side and then waxy or plasticy on the other side. If you’re having trouble finding it at your local grocery store, have no fear because lots of places on the internet sell it. Just do a google search for it.
Be sure you use “freezer paper” and not “wax paper” because wax paper is waxy on both sides and you only want it to be waxy on one side.
OK. So from what I can tell here are the two things that a lot of people are using freezer paper for on Craftster:
Painless Stencils
Craftster member t0xicity was kind enough to write up a great tutorial for how stencil with it. I’ve heard lots of people say that this method is much easier than using contact paper.
The basic idea is that you have an image to begin with perhaps printed out from your computer on regular paper. Then you lay it on the freezer paper (waxy side down!) and onto a cutting mat and use and X-Acto to cut out your design (cutting it out of both the paper and the freezer paper). Toss the regular paper as it’s job is now done. Then take the freezer paper and iron it onto your t-shirt or fabric and then paint over it with washable fabric paint which is very easy to find in lots of colors. Then you just peel of the freezer paper and you’re done!
Read the tutorial for lots more details:
http://www.craftster.org/forum/index.php?topic=15045.0


Print Right Onto Fabric with your Ink Jet
Lots of people also seem to be using freezer paper to help them print right onto fabric. It’s pretty amazing that you can do this and it looks really good. But I will say that I’d make sure to try this on a printer that’s perhaps on it’s last legs rather than a new expensive printer. Thrift stores often have mountains of old ink jet printers so it may be a good idea to buy a cheap one just to craft with. Oh and don’t use a laser printer for this.
So what you do is cut a piece of freezer paper to 8.5″ x 11″. Then cut a piece of nice quality cotton fabric to the same size. I’ve heard lots of people use 200 count muslin with good results. Iron the freezer paper to the fabric. This adds a stiffness to the fabric which allows you to send it through the printer.
Now your probably thinking “will the ink smear if the fabric gets wet or will it fade in the sun?” and the answer seems to be “yes.” So here are a couple products you can use to make sure this doesn’t happen:
You can buy waterproof ink jet ink cartridges like these:
http://www.ink4art.com/icon/index.asp?method=ps&pss=waterproof&SEARCH.x=0&SEARCH.y=0
http://www.rippedsheets.com/inkjet/sunsafe.html
Or there is this product that you use to treat the fabric beforehand called Bubble Jet Set and then in theory you can use regular inkjet ink:
http://www.cjenkinscompany.com/bjs2000.htm
Here’s a project Limegreenchicken posted where she used this method to print a picture of Madonna onto fabric and then used that fabric to make a purse:
http://www.craftster.org/forum/index.php?topic=17607.40


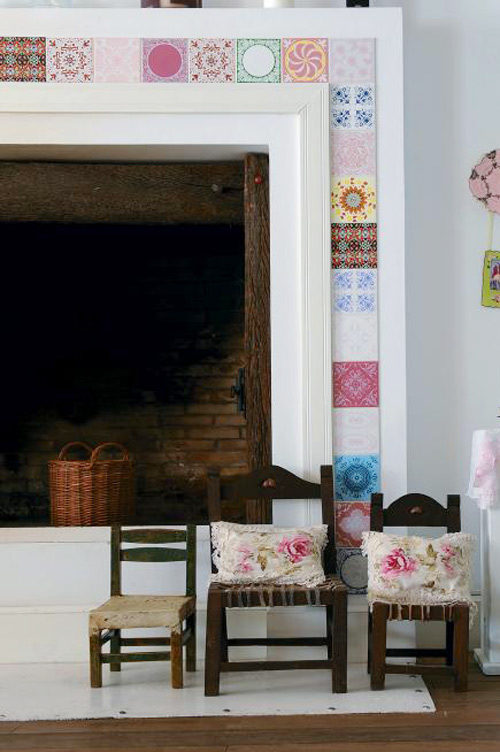
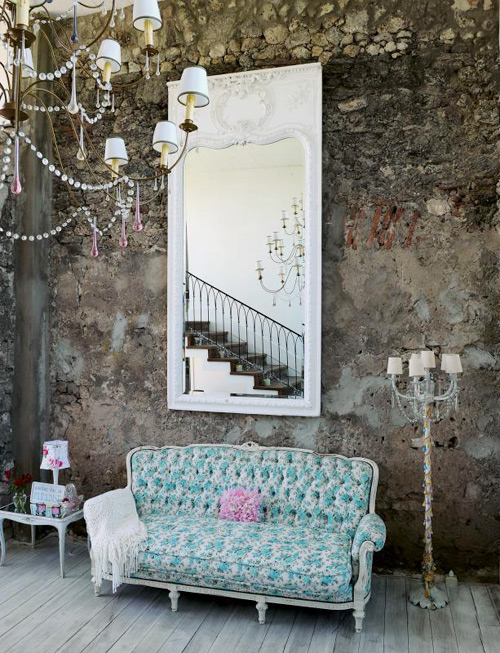
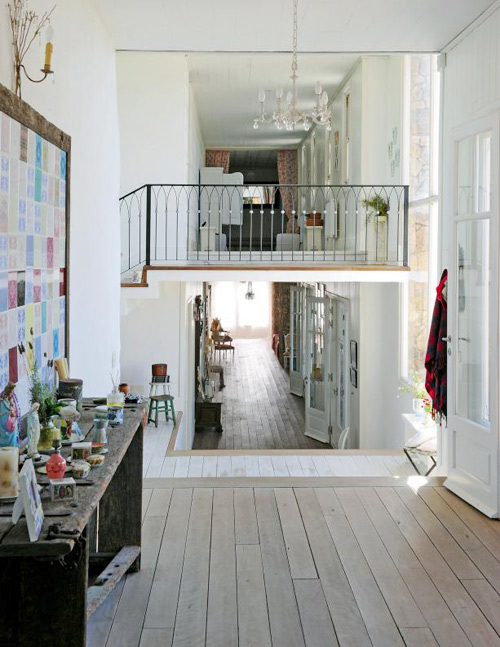



This casual home merging old with new looks like a creative center of activity, doesn’t it? I love how it has some very elegant touches but that it also feels lived in and that it’s not overly styled or designed to perfection. I also like some of the whimsical touches, like the mismatched tilework around the fireplace. I’m seeing more and more wood encased tubs lately, especially salvaged wood, and I find this inspiring and original.
A Basic DIY Guide

I recently found myself plum out of labels and desperate for more right away. I ran out to my local Joann Fabric and was so happy to find this printable fabric on a roll (http://www.joann.com/joann/search/search_results.jsp?CATID=cat1002&keywords=photofabric&_requestid=76891). I had seen similar types at Dharma Trading (http://www.dharmatrading.com/html/eng/420658-AA.shtml) but couldn't wait. What's great about this particular brand is the ease of use and the fabric options which include poplin, twill, canvas, and silk. I couldn't decide between poplin and silk, but I finally settled on poplin because it's thin yet sturdy.
The roll (8.5"x120") cost me 25.00 and with a 40% off coupon it came to 15.00. You can also buy them in smaller sheet packs, but this is more economical considering I only had one coupon to spare.

I designed the labels using a primitive yet super handy printing program called Label Factory Deluxe (http://www.amazon.com/Nova-Development-727298401127-Factory-Deluxe/dp/B00008K1ON). I cut three pieces off the roll measuring 8.5"x11" and gave it a try (after test printing on regular paper first). The result is not jet black, but I think the shade is just fine. I want to stress the importance of ink quality though. Please read my addendum at the very end of this post for the details.
 After letting it dry for 15 minutes you iron it and then peel the paper backing.
Wash it for 30 seconds, blot on a towel and then iron it dry.

Cut into strips, iron over strips and then snip tags.

Squirt some Fray Check onto a plate (not a paper plate because it will absorb, yeah I learned that the duh way) and dip the edges. Lay to dry on a paper towel or scrap fabric.

The only tricky part I came across was with inserting the fabric into the printer. Since it came on a roll the edges would curl up making it hard to tell if I was positioning it correctly. To help, I took a piece of cardstock and inserted them together. Then I removed the cardstock before printing.
Price: I broke down the price and here's how it worked out for me, but the results will vary for you depending on label size (I'm able to get 35 - 1.5"x1.5" labels per sheet), cost of ink (I pay 15.00 per cartridge), amount of ink used in your specific design (all black labels = a lot of ink), whether or not you have the 40% off coupon!
350 labels per roll (1.5"x1.5") @ .10 cents a piece = 35.00 (this estimate includes ink). Compared to "other" online label companies that's not bad at all (average prices I'm finding are 1,000 labels for 270-400 plus shipping).
The labels I made are so basic, but just think about the possibilities!
+++++ADDENDUM+++++
Ok, I'm so happy about all the response to this simple tutorial...who would've thought that there were SO many people out there with the same exact dilemma. I wanted to address two issues:
1. Can these labels be used for washable goods?
2. What kind of ink works best?
Answer 1. The labels are not meant to be washed...they are really for non-washable items. I have NOT tested these labels in the wash so please do comment on your results if you have tried! We're all interested in knowing so do share.
Answer 2. I recently bought some printer cartridge refills off eBay and have found that the ink works horribly with this printable fabric. The ink bled like crazy.
Copy and paste this link into the address bar to view a sample :
http://allysonhill.typepad.com/.shared/image.html?/photos/uncategorized/2007/10/23/100_7579_2.jpg
This picture was taken after rinsing under water for 30 seconds and ironing dry. You can see how the white sections on the top labels are now grey, but the bottom labels are still a crisp white. I used HP Vivera ink for the bottom labels and found little to no ink bleeding during the rinsing stage. So...I'm very sorry if others have learned this the hard way as well...you must use good quality ink for these labels. If anyone has input regarding different inks please do share (Epson?).
 The decal is fabric and reusable. Very important for prying fingers. In fact, you can wash it in water and it retains its sticky back! Thanks to Echidna Place in Bangalow, NSW for the introduction to the wonderful world of Mae.
 Available in eight colour combinations.
 Price: AUD $39.95
 Price: AUD $45.00
 Price: AUD $89.00
 The Delicate Tree, available in any colour from the colour chart.
 Available in gold, red and grey
 Various colourways available